Product Photography Lighting: From Beginner to Pro Results
Lighting makes or breaks product photography. Learn professional techniques and discover how AI can create perfect lighting from any source image.
Why Lighting is Everything
In product photography, lighting isn't just important; it's everything. The same product can look cheap or premium, dull or exciting, purely based on how it's lit. Good lighting reveals texture, creates depth, eliminates unflattering shadows, and makes colours pop accurately.
Understanding Light Basics
Hard vs. Soft Light
Hard light creates sharp, defined shadows. It's dramatic but can be unflattering for products, revealing every imperfection. The sun on a clear day is hard light.
Soft light creates gentle, gradual shadows. It's more forgiving and usually preferred for products. Overcast days, softboxes, and diffused light sources produce soft light.
Light Direction
- Front lighting: Even, flat illumination; minimal shadows
- Side lighting: Creates depth and texture; reveals surface details
- Back lighting: Creates silhouettes or rim effects; adds drama
- Top lighting: Often unflattering; creates dark shadows below products
Natural Light Techniques
Window Light Setup
Natural light from a large window is free and beautiful:
- Position product near a large window (north-facing ideal for consistency)
- Use sheer curtains or a white sheet to diffuse harsh sunlight
- Place a white foam board opposite the window to fill shadows
- Shoot during overcast days for the softest, most even light
Golden Hour
The hour after sunrise and before sunset produces warm, flattering light. Perfect for lifestyle product photography with a premium, aspirational feel.
Natural Light Limitations
- Inconsistent throughout the day
- Weather-dependent
- Limited shooting hours
- Difficult to replicate exactly
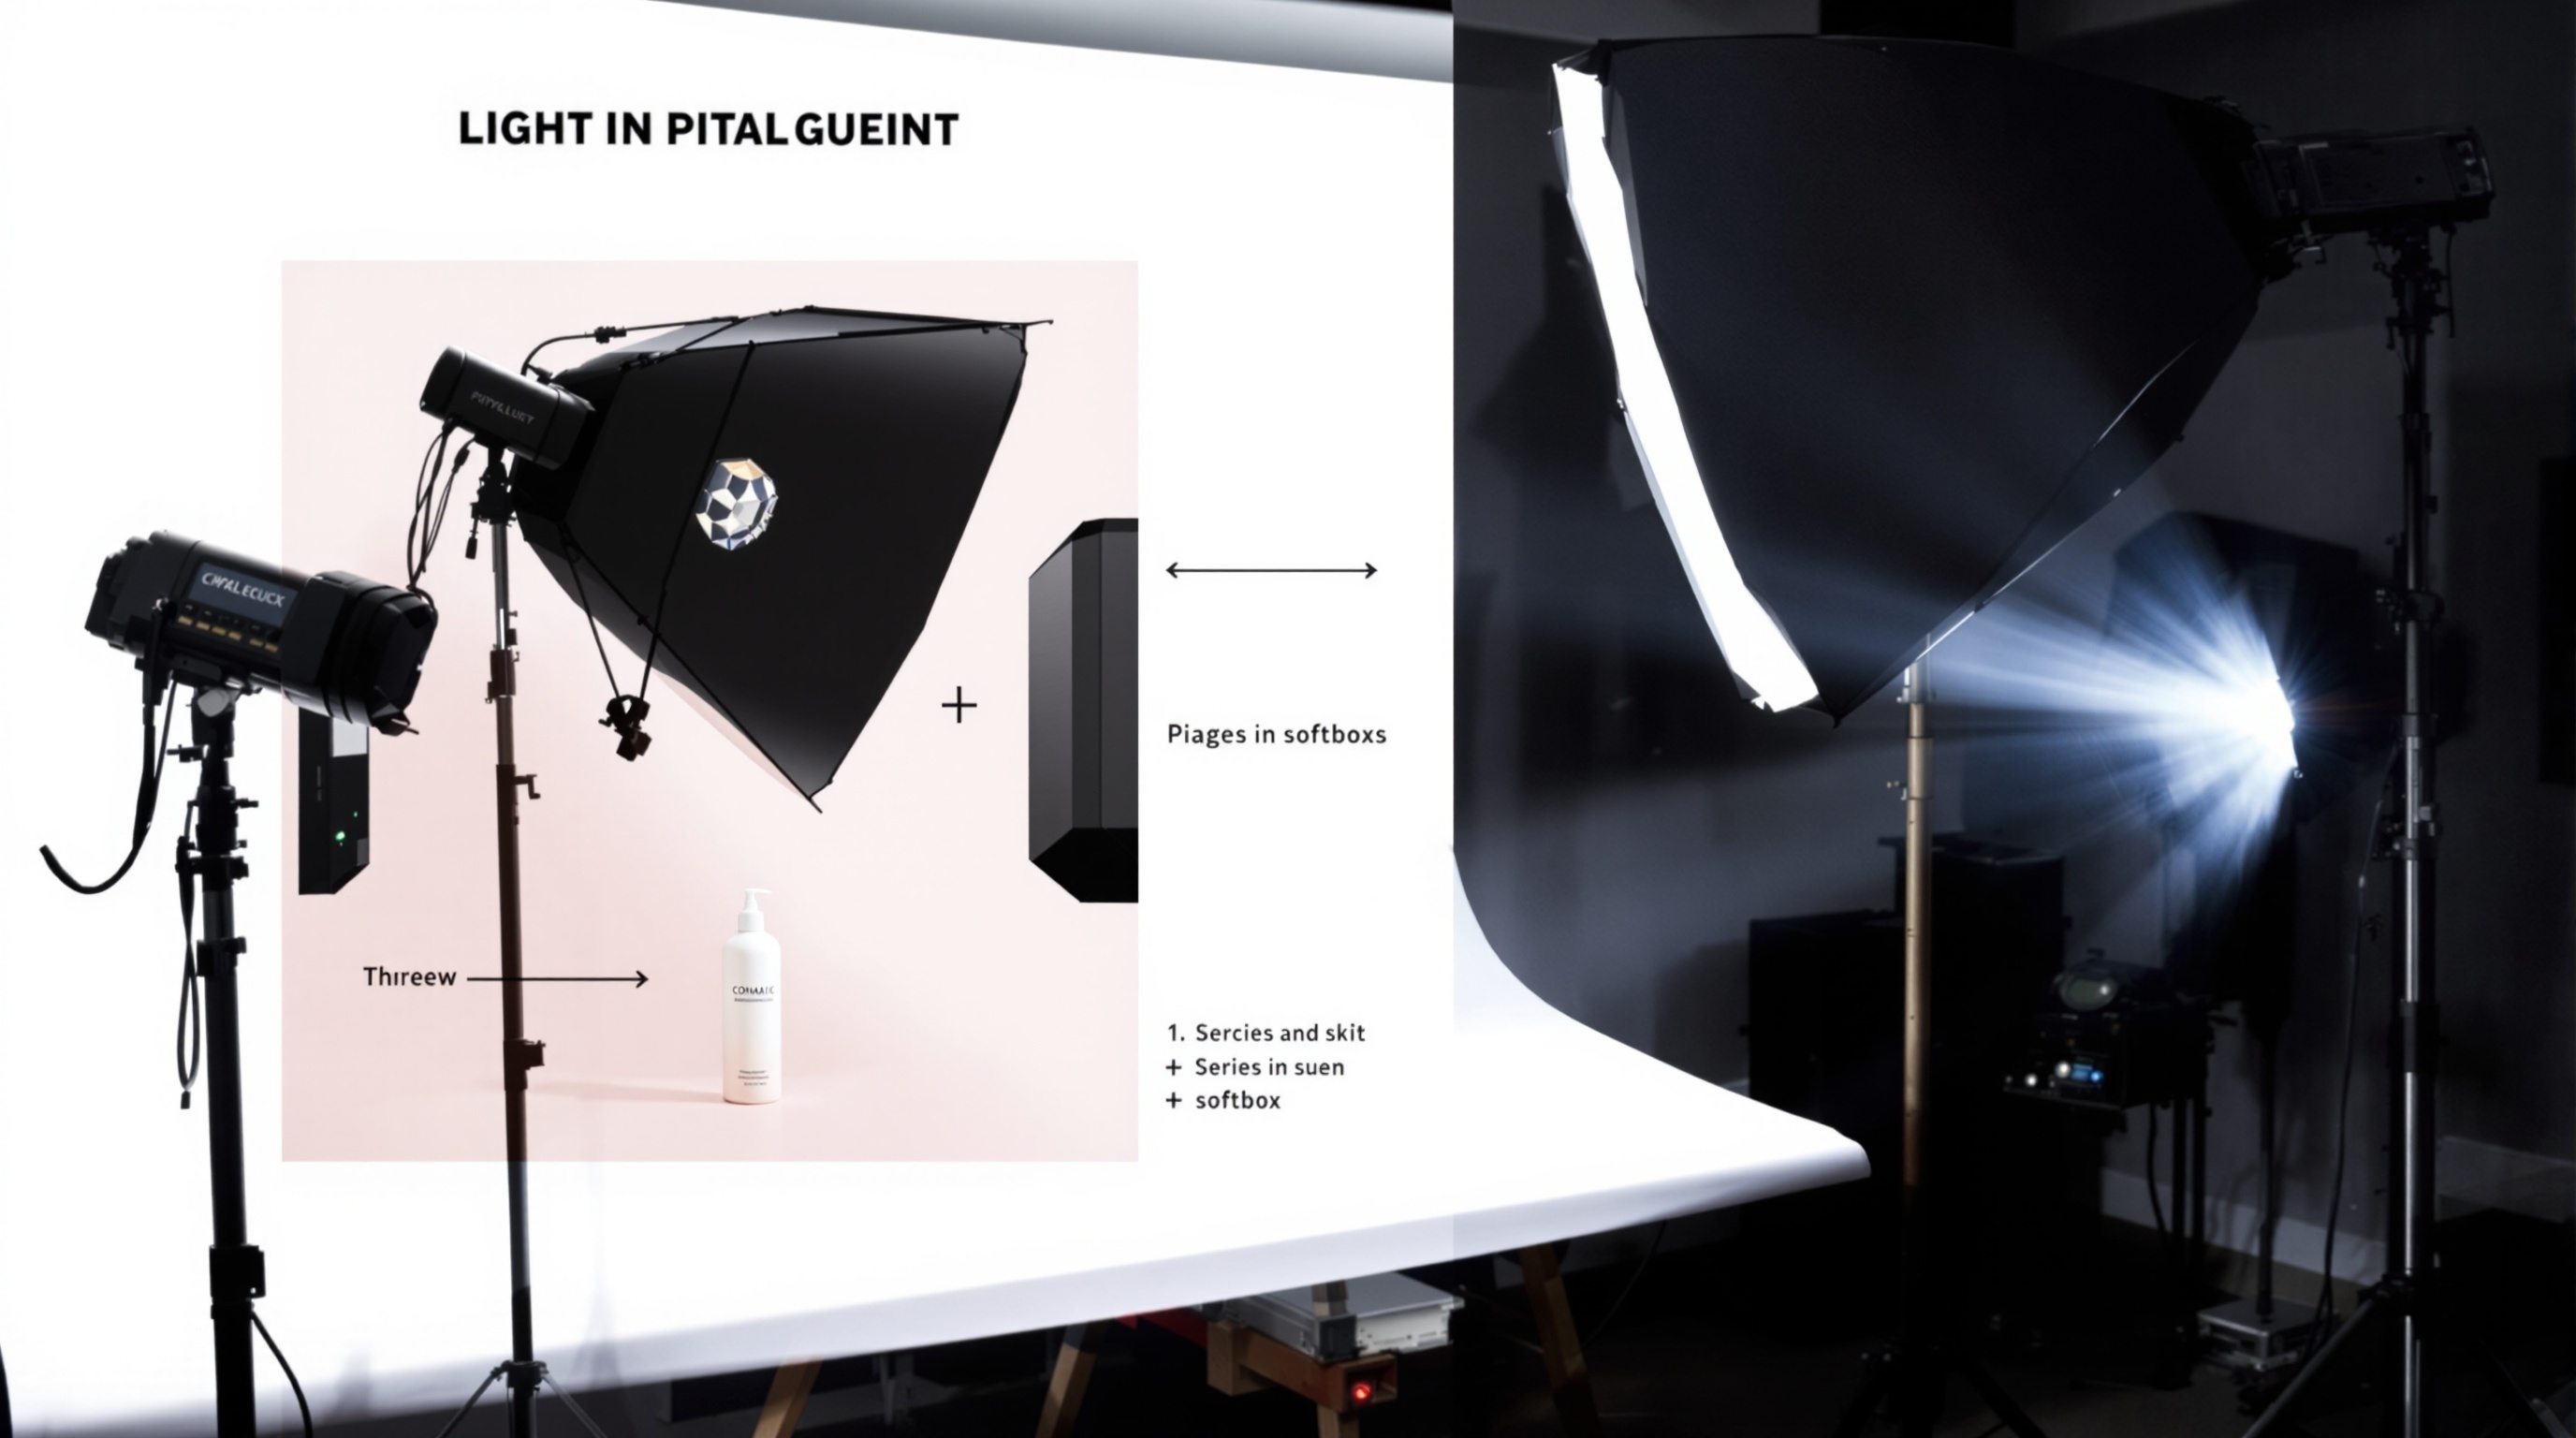
Studio Lighting Setups
Basic Two-Light Setup
The foundation for most product photography:
- Key light: Main light source, placed 45 degrees to one side
- Fill light: Softer light opposite the key, reducing shadows
Three-Light Setup
Add a third light for more control:
- Add a backlight or hair light for separation from background
- Or use it to illuminate the background separately
Equipment Options
Continuous lights: Always on; easier to see what you're getting
- LED panels (affordable, cool-running)
- Fluorescent lights (soft, economical)
Strobes/Flash: More powerful; freeze motion
- Speedlights (portable, versatile)
- Studio strobes (powerful, consistent)
Modifiers
- Softboxes: Create soft, even light
- Umbrellas: Affordable diffusion
- Reflectors: Bounce and fill light
- Flags: Block light from hitting certain areas
Lighting for Different Products
Reflective Products (Jewellery, Glass, Metal)
- Use a light tent or surrounding diffusion
- Avoid showing light sources in reflections
- Consider gradient backgrounds for interesting reflections
Textured Products (Fabric, Food, Crafts)
- Use side lighting to reveal texture
- Avoid flat, front lighting that hides detail
Transparent Products (Bottles, Glassware)
- Light from behind for a glowing effect
- Use dark backgrounds for contrast
- Consider white background with backlight
AI Lighting Solutions
AI photography tools can transform poorly-lit images into professionally-lit ones:
- Shadow correction: AI fills harsh shadows naturally
- Highlight recovery: Brings back blown-out areas
- Simulated studio lighting: Adds professional lighting effects post-capture
- Colour accuracy: Corrects colour casts from mixed lighting
- Consistency: Applies identical lighting across entire catalogues
This means you can capture basic images with available light and let AI create the professional finish without expensive equipment.
ShopShot's AI creates perfectly-lit product images from any source photo. Upload an image with any lighting conditions and receive studio-quality results.
Frequently Asked Questions
What is the best lighting for product photography?
Soft, diffused lighting works best for most products. Use softboxes, diffusers, or natural window light. Position your main light at 45 degrees to the product with a fill light or reflector opposite to reduce shadows.
Can I use natural light for product photography?
Yes, natural light works excellently for product photography. Shoot near large windows, avoid direct sunlight, and use white foam boards as reflectors. Overcast days provide ideal soft, even lighting.
How many lights do I need for product photography?
Start with 2 lights: one main light and one fill light or reflector. For more advanced setups, add a backlight for separation. Many professionals use 3-4 lights for complete control.
What color temperature should product photos be?
Use 5000-5500K (daylight balanced) for accurate color reproduction. Ensure all lights match in color temperature. Shoot in RAW format to easily adjust white balance in post-production.
Ready to Transform Your Product Photography?
Try ShopShot free and see professional AI photography in action.
Start Free - 15 Credits